
Replacing the Rotor of a Screw Pump
Screw pumps are widely used in various industries for pumping fluids, and the rotor is a critical component that requires periodic maintenance and replacement. In this article, we will guide you through the steps involved in replacing the screw pump rotor.To get more news about SEEPEX Pump Parts, you can visit hw-screwpump.com official website.
Step 1: Shut down the pump
Before starting any maintenance work, make sure that the pump is completely shut down and disconnected from the power source. This is important to prevent accidents and ensure your safety.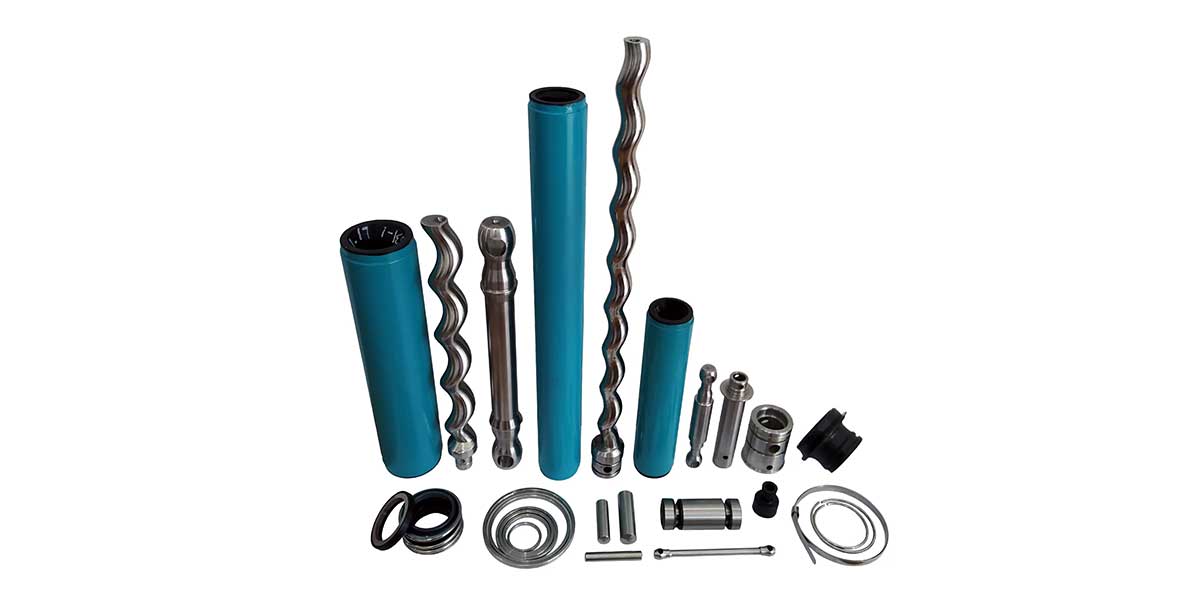
Step 2: Remove the pump casing
To access the rotor, you need to remove the pump casing. This is usually done by unscrewing the bolts or nuts that hold the casing in place. Carefully lift the casing off the pump, being mindful of any gaskets or seals that may be present.
Step 3: Remove the old rotor
Once you have access to the rotor, you can remove it by unscrewing the bolts or nuts that hold it in place. Depending on the type of pump, you may also need to remove the coupling or drive shaft that connects the rotor to the motor. Be sure to keep track of any washers or spacers that may be present.
Step 4: Inspect the pump components
While you have the pump disassembled, it’s a good idea to inspect the other components for signs of wear or damage. This includes the stator, bearings, seals, and gaskets. Replace any parts that are worn or damaged.
Step 5: Install the new rotor
Once you have inspected and replaced any worn components, you can install the new rotor. Begin by aligning the bolt holes on the rotor with those on the stator. Tighten the bolts or nuts in a criss-cross pattern to ensure even torque distribution.
Step 6: Reassemble the pump
Reinstall any components that were removed during the disassembly process, including the coupling or drive shaft. Replace any gaskets or seals as needed. Carefully lower the pump casing back onto the pump, and tighten the bolts or nuts in a criss-cross pattern.
Step 7: Test the pump
After reassembling the pump, test it to ensure that it is functioning properly. Check for leaks, unusual noises, or any other signs of malfunction.